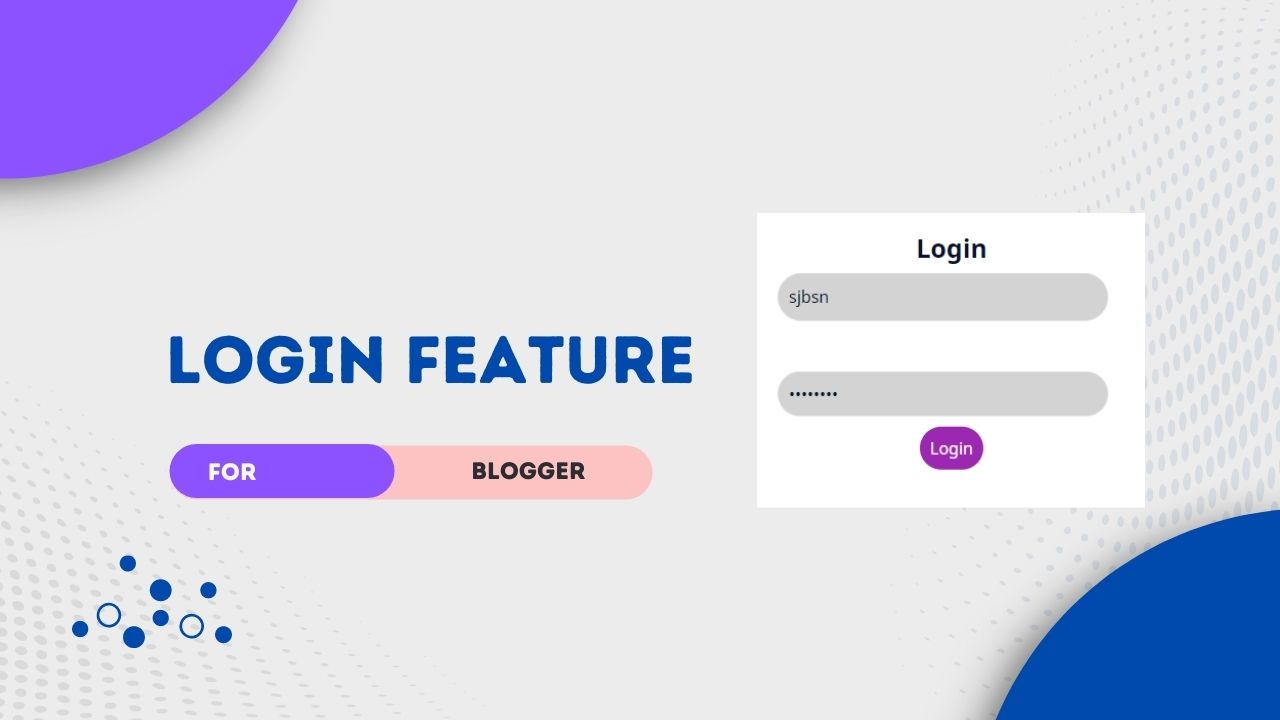
Hello everyone welcome to Smart Tech Carry, you want to make a private page or blog that can access by anyone with a username and password only? then this tutorial is for you.
In this tutorial, we are going to show you how to add a login feature in Blogger!
We used here JS, CSS and HTML for this login feature!
So without wasting much let's check how to add a login feature in Blogger!
How to add a login feature in Blogger?
- First, go to your Blogger dashboard
- Then go to Theme option
- Then click on the drop-down icon near Customize option
- Then click on the Edit HTML option
- Now find
]]></b:skin>and paste the following CSS just above it
/* Login feature by Shiva Technic World */.lgn{width:100%;height:100%;position:fixed;left:0;top:0;z-index:9999999999;background:flat;background-color:#f3f5fe;background-size:400% 400%;animation:gradient 10s ease infinite}@keyframes gradient{0%{background-position:0 50%}50%{background-position:100% 50%}100%{background-position:0 50%}}.lgn.hidden{display:none}#lgnid{position:absolute;border-radius:8px;width:400px;padding:30px;display:block;transform:translate(-50%,-50%);top:50%;left:50%;background:flat;background-color:#fff;transition:all .5s ease;border-radius:20px}.lgnttl{font-size:25px;font-weight:700;text-align:center}#lgnid input[type=text],#lgnid input[type=password]{padding:10px;border-radius:40px;margin:10px 0;width:95%;border:1px solid rgba(255,255,255,.2);background:#d3d3d3}#username::-webkit-input-placeholder,#password::-webkit-input-placeholder{color:#000}#lgnid input[type=text]:focus,#lgnid input[type=password]:focus{outline:none}button.login{color:#fff;padding:10px;border-radius:40px;border:none;outline:none;background:#9c27b0;transition:1.5s}
button.login:hover{background-color:red;transition:.5s}@media screen and (max-width:480px){#lgnid{width:350px}}.red{color:red}<!--[ Login feature ]-->
<div class="lgn">
<div id="lgnid">
<div class="lgnttl">Login</div>
<input id="username" type="text" /><br />
<input id="password" type="password" />
<br />
<center><button class="login" onclick="startlog()">Login</button></center>
<p id="access"></p>
</div>
</div>You can change highlighted texts on the code box as you like!
<script>var storeS=localStorage.getItem("users");if(null==storeS){var users=[{username:"STW",password:"123456"},{ username: 'username_here', password: 'password_here' }];localStorage.setItem("users",JSON.stringify(users))}function getUserUsername(e){return JSON.parse(localStorage.getItem("users")).filter(t=>t.username===e)}function ceklog(){var e=localStorage.getItem("login");null!=e&&"true"==e&&document.querySelector(".lgn").classList.add("hidden")}function startlog(){var e=document.querySelector("#username").value,t=document.querySelector("#password").value;getUserUsername(e.trim()).length>0?getUserUsername(e.trim())[0].password==t.trim()?(document.querySelector(".lgn").classList.add("hidden"),localStorage.setItem("login","true")):document.querySelector("access").innerHTML="<p class='red'>Wrong username or password!</p>":document.querySelector("access").innerHTML="<p class='red'>User not found!</p>"}ceklog();const show=()=>{var e=document.querySelector("#password"),t=document.querySelector(".icon1"),r=document.querySelector(".icon2");"password"===e.type?(e.type="text",r.style.opacity="1",t.style.opacity="0"):(e.type="password",r.style.opacity="0",t.style.opacity="1")};</script>Don't forget to change hilighted STW with username and 123456 with password!
To add more users
You can add more users by adding, and using following code
{ username: 'username_here', password: 'password_here' }Example
<script>var storeS=localStorage.getItem("users");if(null==storeS){var users=[{username:"STW",password:"123456"},{ username: 'username_here', password: 'password_here' }];localStorage.setItem("users",JSON.stringify(users))}function getUserUsername(e){return JSON.parse(localStorage.getItem("users")).filter(t=>t.username===e)}function ceklog(){var e=localStorage.getItem("login");null!=e&&"true"==e&&document.querySelector(".lgn").classList.add("hidden")}function startlog(){var e=document.querySelector("#username").value,t=document.querySelector("#password").value;getUserUsername(e.trim()).length>0?getUserUsername(e.trim())[0].password==t.trim()?(document.querySelector(".lgn").classList.add("hidden"),localStorage.setItem("login","true")):document.querySelector("access").innerHTML="<p class='red'>Wrong username or password!</p>":document.querySelector("access").innerHTML="<p class='red'>User not found!</p>"}ceklog();const show=()=>{var e=document.querySelector("#password"),t=document.querySelector(".icon1"),r=document.querySelector(".icon2");"password"===e.type?(e.type="text",r.style.opacity="1",t.style.opacity="0"):(e.type="password",r.style.opacity="0",t.style.opacity="1")};</script>Want to see how it looks?
Demo login feature username and pass
Username: Smart Tech Carry
Password: 123456
Conclusion
Refrence :
Smart Tech Carry
Rate This Article
Thanks for reading: How to add login feature in Blogger [Updated]:)
Conclusion
In this article, I have shared How to add login feature in Blogger [Updated]. I hope you have liked it Please do share it with your friends and follow our blog for more.
Join our Telegram Channel to get the lastest posts updates daily. Thank you!
